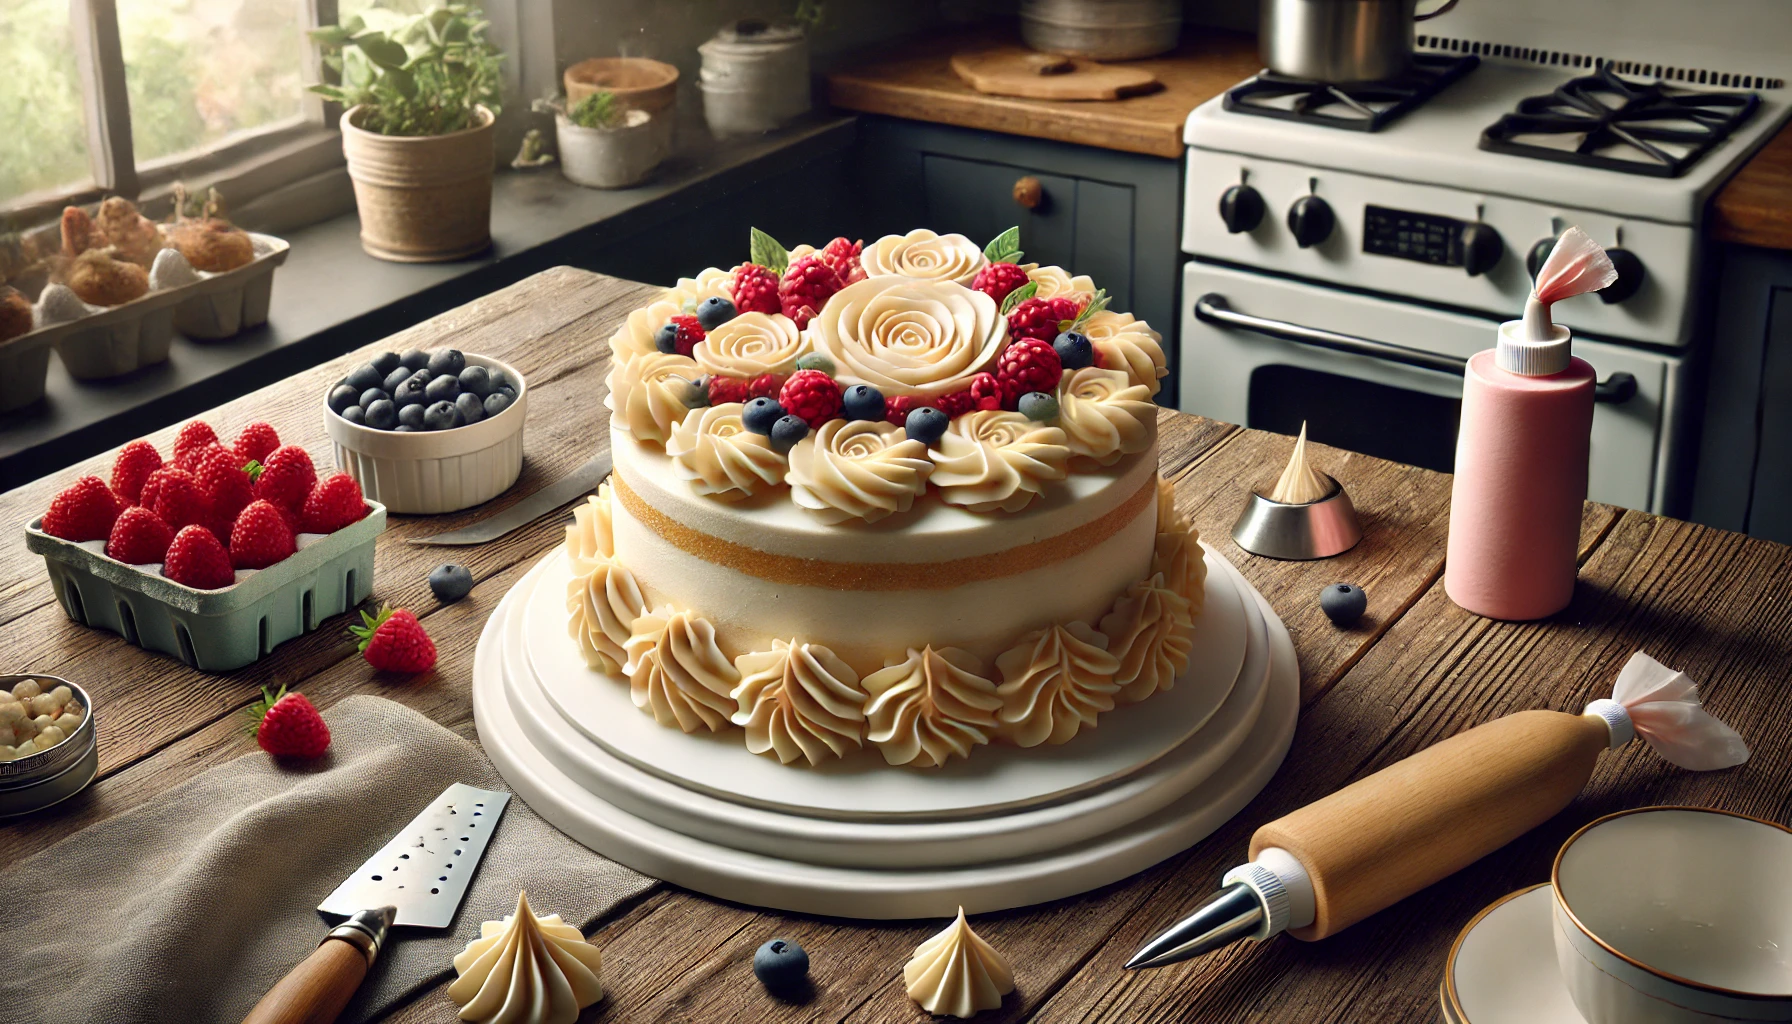
Decorating a cake can seem like something only professionals with years of training can do — but the truth is, you can create beautiful cakes right in your own kitchen with the right techniques, tools, and a little practice.
Whether you’re preparing a birthday cake, a celebration centerpiece, or just exploring cake design as a hobby, this guide will show you how to decorate cakes at home like a pro, even if you’re just starting out.
1. Start with a Level Cake
Before decorating, your cake should have a flat, even surface. Uneven layers can lead to messy finishes and sliding frosting.
How to level your cake:
- Use a serrated knife or cake leveler to trim the tops.
- Stack your layers evenly using a small amount of frosting as “glue” between each one.
- Chill the layers before decorating to make them more stable.
💡 Tip: Bake your layers one at a time if you only have a small oven. This ensures even baking.
2. Invest in Basic Decorating Tools
You don’t need a full bakery setup to start. A few key tools make a big difference:
Essential tools for beginners:
- Offset spatula (for smooth frosting)
- Piping bags and tips
- Cake turntable (helps with even application)
- Bench scraper or cake smoother
- Serrated knife or cake leveler
These tools are affordable and available in most baking supply stores or online.
3. Use a Crumb Coat
A crumb coat is a thin layer of frosting that seals in crumbs before the final coat is applied. This is the secret to that clean, professional look.
Steps to apply a crumb coat:
- Spread a thin layer of frosting over the entire cake.
- Smooth it out as much as possible.
- Chill the cake for 15–30 minutes until the coat sets.
Then apply your final layer over the chilled base — no more crumbs in the frosting!
4. Master the Smooth Finish
A smooth buttercream finish is classic and versatile. Here’s how to achieve it:
Steps:
- Use an offset spatula to apply a generous amount of frosting.
- Spin the cake on a turntable while smoothing the sides with a bench scraper.
- Dip the spatula in hot water, wipe it, and glide over the surface for a flawless finish.
This technique takes practice, but once mastered, it elevates every cake.
5. Learn Basic Piping Techniques
Piping adds personality and texture to your cakes. Start with simple borders, rosettes, and swirls.
Beginner tips for piping:
- Practice on a plate before decorating the cake.
- Hold the piping bag at a 45° angle.
- Use medium pressure for clean shapes.
- Start with open star tips or round tips.
Buttercream works best for piping — it holds shape and comes in endless colors.
6. Add Color the Right Way
Color can make your cake pop, but using too much dye can alter taste and texture.
Use these tips:
- Use gel or powder food coloring — they’re more concentrated and don’t add moisture.
- Mix colors gradually; you can always add more but can’t remove it.
- Let buttercream rest after coloring; the color deepens as it sits.
Stick to 2–3 harmonious shades for an elegant look.
7. Experiment with Textures and Tools
You don’t need fancy molds to add interest. Use everyday items to create textures:
- A fork for rustic lines
- A spoon for swirls
- Bubble wrap for a honeycomb effect (clean and food-safe only!)
- Stencils and cocoa powder for patterns
Don’t be afraid to get creative — texture adds depth and personality.
8. Use Fresh or Edible Decorations
You can decorate with more than just frosting. Try:
- Fresh fruits: berries, citrus slices, figs
- Edible flowers: pansies, violas, marigolds
- Chocolates: shavings, curls, or drip ganache
- Cookies, macarons, or meringues
Just make sure anything non-edible is removed before serving, or use edible alternatives when possible.
9. Keep It Simple and Elegant
You don’t have to go over the top. Sometimes, less is more. A simple, smooth buttercream cake with a few piped rosettes and fresh fruit can look stunning.
Start small, and as your confidence grows, try more advanced techniques like drip cakes, ombré frosting, or fondant details.
10. Practice, Practice, Practice
No one becomes a cake artist overnight. The more you practice, the better your decorating will become.
What helps improve:
- Watching tutorial videos
- Practicing on cupcakes or cake dummies
- Photographing your progress
- Learning from mistakes (and celebrating the wins)
With time, your hands will feel more natural and your creativity will grow.
Final Touch: Make It Yours
Decorating cakes is as much about creativity as it is about technique. Don’t be afraid to put your personal spin on each design. Whether you love minimalist looks or bold, colorful themes, your cake should reflect your style.
The most beautiful cakes are made with care, love, and joy — not perfection.
So go ahead, grab that piping bag and start creating. Your next masterpiece is just a swirl away. 🎂💖
