A beautifully packaged dessert isn’t just about protection — it’s part of the experience. Whether you’re delivering cupcakes, selling cookies, or gifting brownies, the way you package your treats speaks volumes about care, quality, and attention to detail.
In this article, you’ll learn how to properly package desserts for different occasions — with tips on materials, presentation, freshness, and safe transport.
Why Good Packaging Matters
- Keeps desserts fresh and intact
- Prevents spills, smudges, or melting
- Adds a professional and thoughtful touch
- Builds brand identity if you sell
- Makes the dessert feel like a true gift
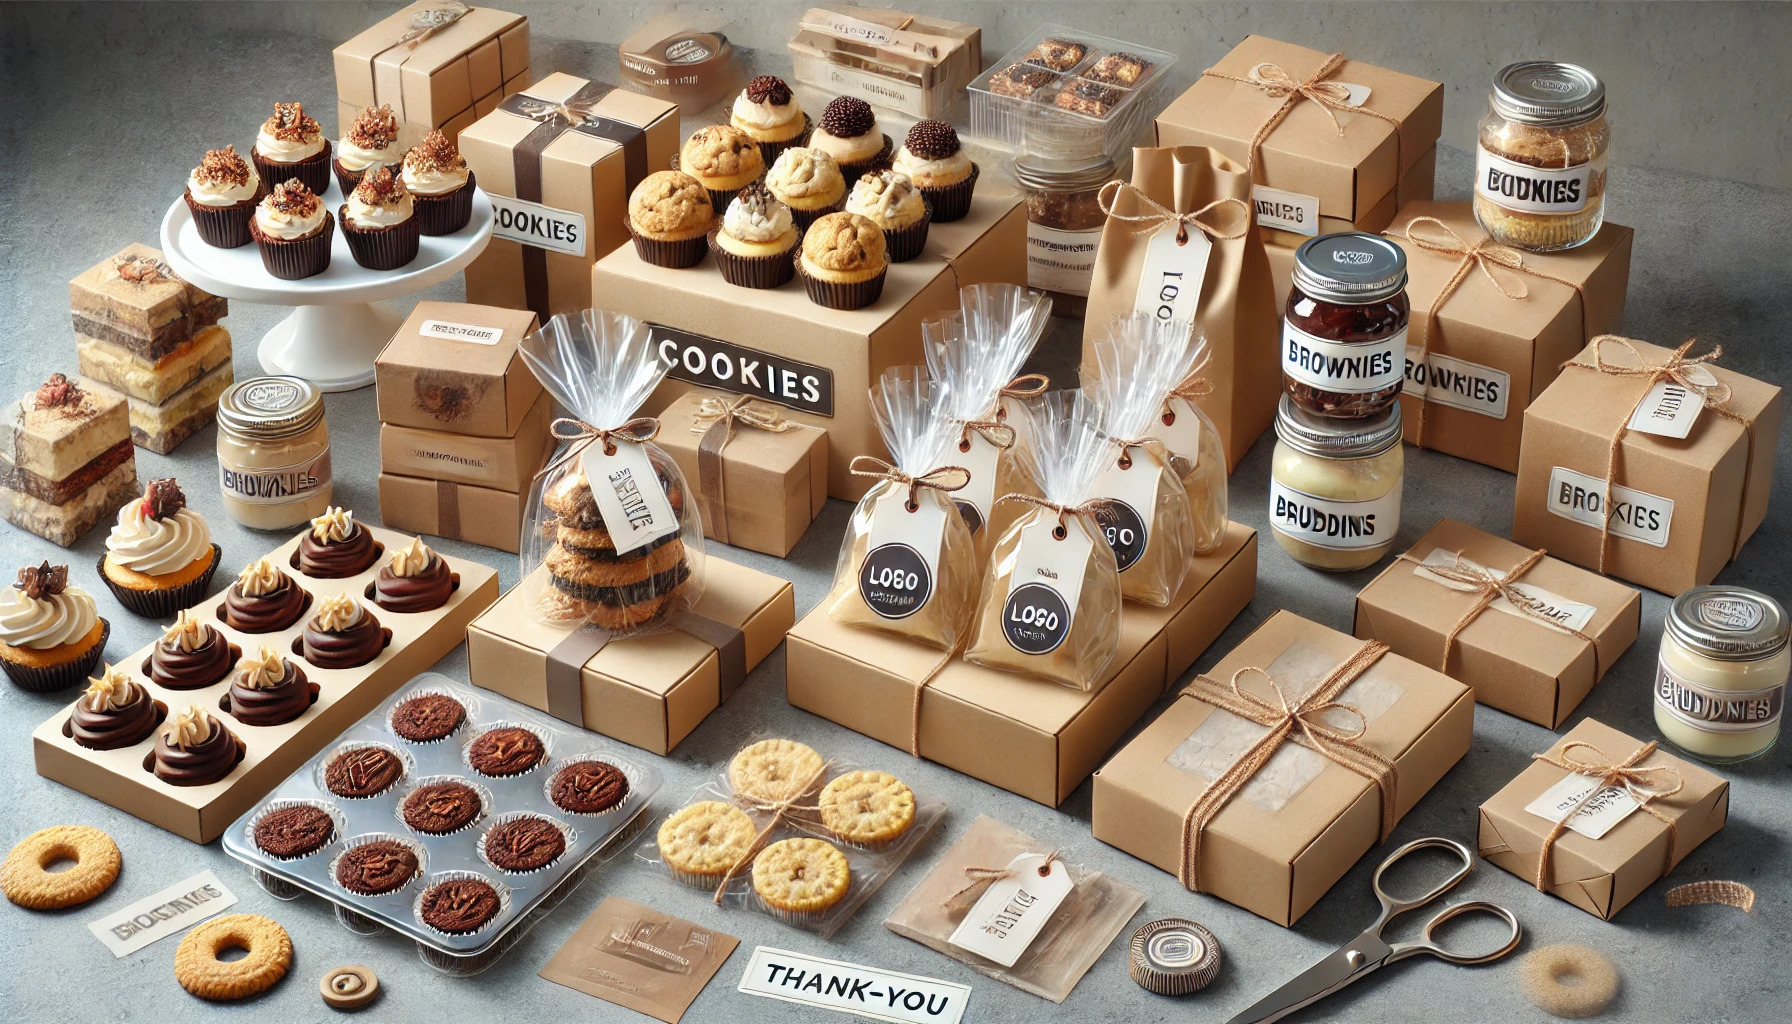
Step 1: Choose Packaging by Dessert Type
Each dessert needs a specific type of container to stay in perfect condition.
🍪 Cookies
- Stack in clear cellophane bags, boxes with windows, or cookie tins
- Add wax paper between layers to prevent sticking
- Tie bags with ribbon or twine for a handmade look
🧁 Cupcakes
- Use cupcake boxes with individual inserts
- Choose deep boxes with room for the frosting
- Chill before transport to firm up buttercream
🍫 Brownies & Bars
- Cut into neat squares
- Wrap individually in parchment or wax paper
- Stack in boxes or tins with dividers or tissue paper
🍰 Slices of Cake or Mini Cakes
- Use clamshell containers or mini cake boxes
- Add a doily or parchment under the slice
- For whole cakes, use cake boxes with sturdy bases and height
🍮 Puddings, Mousse, or Trifles
- Serve in plastic jars with lids, mason jars, or dessert cups
- Secure with stickers or a logo tag
- Wrap jars with twine and label flavors
Step 2: Keep It Fresh
To preserve texture and flavor:
- Line boxes with food-safe paper or foil
- Include ice packs for delicate or perishable items (like cream-based treats)
- Seal well to prevent air exposure
💡 For deliveries, always label “Keep Refrigerated” when needed.
Step 3: Add Personal or Professional Touches
The little details elevate your dessert box:
- Logo stickers or printed labels
- Ingredient list or allergens info (important for sales)
- A small card or thank-you note
- Flavor tags or menus
- Ribbons, paper filler, or seasonal decorations
If you’re selling, packaging becomes part of your brand — stay consistent in style, color palette, and tone.
Step 4: Pack for Safe Delivery
Nobody wants a melted cake or crumbled cookie on arrival.
Tips for safe transport:
- Use boxes that fit snugly — too much space leads to sliding
- Add bubble wrap or crumpled paper around jars or heavy items
- Tape the bottom and sides of boxes for sturdiness
- Label as “Fragile”, “This Side Up”, or “Perishable” if shipping
- Always chill items like cheesecakes or mousse before transport
Eco-Friendly Packaging Options
- Kraft paper boxes
- Compostable clear bags
- Recyclable cardboard trays
- Edible spoons or wooden utensils
- Reusable glass jars
More and more customers value sustainability, especially in artisan products.
Packaging Inspiration by Occasion
| Occasion | Packaging Idea |
|---|---|
| Holiday Gift | Red ribbon + tag + festive sticker |
| Baby Shower | Pastel colors + thank-you card |
| Business Order | Logo box + printed menu |
| Birthday | Balloons or confetti inside lid |
| Wedding Favor | Clear bag + twine + floral sticker |
Final Thought: Presentation is Part of the Dessert
Beautiful packaging shows pride in your product — and it makes the moment of opening just as special as the first bite. Whether you’re a home baker or small business, learning to package like a pro turns your treats into truly memorable gifts.
So wrap it well, seal it tight, and let your desserts shine — inside and out. 🎀🍪