Ever start a recipe and realize halfway through you’re missing flour — or worse, the baking powder expired a year ago? A disorganized pantry leads to wasted time, forgotten ingredients, and frustrating baking experiences.
The good news? With a few smart systems, you can transform your pantry into a baking-ready space that makes every dessert project smoother, faster, and more enjoyable.
In this article, we’ll walk through how to organize your pantry for efficient baking, from layout to containers to restocking tips.
Why Pantry Organization Matters for Bakers
- Saves time during prep
- Prevents buying duplicates or forgetting essentials
- Helps maintain freshness and reduce waste
- Makes baking more relaxing and fun
- Allows for quick inventory checks before a project
Step 1: Clear, Clean, and Categorize
Start fresh:
- Empty everything onto a table
- Check expiration dates — toss old or stale ingredients
- Clean shelves and wipe down containers
- Group by category: flours, sugars, leavening agents, spices, mix-ins, etc.
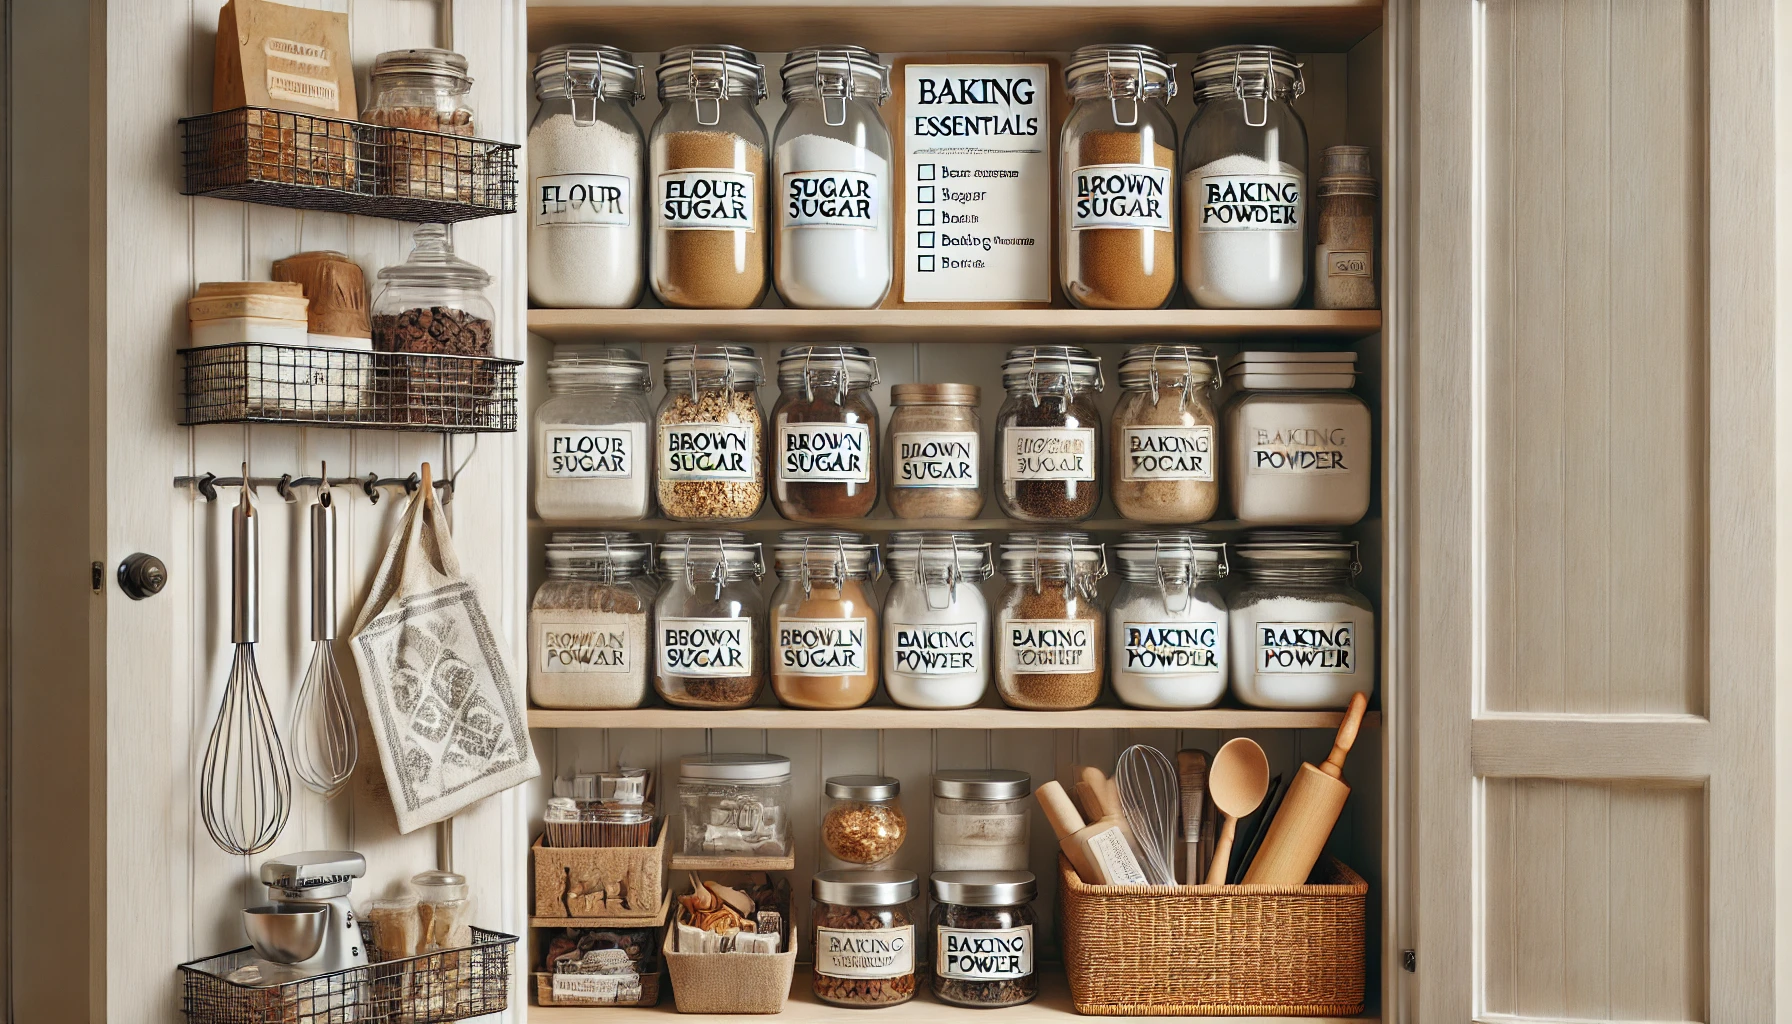
Step 2: Choose Clear, Airtight Containers
Transfer dry goods from original packaging into containers that keep them fresh and visible.
Must-haves:
- Flour (all-purpose, cake, almond)
- Sugar (white, brown, powdered)
- Baking powder and soda
- Cocoa powder
- Cornstarch
- Mix-ins (chocolate chips, nuts, sprinkles)
Best containers:
- Glass jars with tight lids
- BPA-free plastic bins
- Stackable containers with labels
💡 Clear containers help you instantly see what you have — and how much.
Step 3: Label Everything
Even if your flour containers look similar, it’s easy to mix them up — especially with specialty flours.
Label tips:
- Use waterproof labels or chalkboard stickers
- Include product name and expiration date
- Use bold or easy-to-read fonts
Bonus: Color-code by category (e.g. blue for sugars, yellow for flours)
Step 4: Create Baking Zones
Keep everything you need for baking in one central area for convenience.
Suggested zones:
- Core ingredients: flour, sugar, salt, leaveners
- Flavorings: vanilla, cocoa, extracts, spices
- Wet goods: oils, honey, sweetened condensed milk
- Mix-ins: nuts, chocolate, dried fruit
- Decorations: sprinkles, food coloring, piping supplies
Group smaller items in bins or baskets labeled by theme.
Step 5: Use Vertical Space Wisely
Maximize space with:
- Shelf risers: to store jars or cans in tiers
- Clear bins: for backstock or overflow
- Door organizers: for small tools, extracts, or snacks
- Lazy Susans: for small bottles and jars (like food coloring or sprinkles)
Step 6: Keep Essentials Front and Center
Frequently used items (like all-purpose flour, white sugar, baking soda) should be easily accessible.
Less-used items (like specialty spices or flours) can go on higher or lower shelves.
Step 7: Maintain the System
A beautiful pantry only works if you keep it organized.
Tips for long-term success:
- Restock once a month
- Always check levels before grocery shopping
- Clean out expired or stale items every season
- Make a checklist of baking basics and keep it on the inside of the pantry door
Printable Pantry Essentials List (Example)
Keep this near your baking zone:
- All-purpose flour
- Cake flour
- Sugar (white, brown, powdered)
- Baking powder + baking soda
- Salt
- Cocoa powder
- Vanilla extract
- Chocolate chips
- Eggs (in fridge)
- Butter (in fridge/freezer)
Final Thought: Bake Better With a Smart Pantry
A well-organized pantry takes the stress out of baking. It lets you focus on creativity, precision, and joy — not searching for the brown sugar or wondering if your flour is still good.
So take an hour, clean out your space, set up a system, and enjoy a baking routine that’s faster, easier, and a whole lot sweeter. 🧁📦✨