A well-planned dessert table is more than just a place for sweets — it’s a centerpiece, a conversation starter, and a memorable part of any celebration. When done right, it blends taste and design into one sweet spectacle.
In this article, you’ll learn how to create a stunning and delicious dessert table for your next event, no matter your budget or experience level. From choosing desserts to arranging them beautifully, we’ve got you covered.
Step 1: Choose a Theme or Color Palette
Before baking a single cookie, decide on the look and feel of your dessert table.
Popular themes:
- Rustic chic (wood, burlap, neutral tones)
- Pastel party (soft pinks, mint green, baby blue)
- Glam gold (black, gold, and metallic accents)
- Seasonal (spring florals, autumn harvest, winter wonderland)
Your theme will guide:
- Dessert colors
- Table linens
- Decor and signage
- Serving trays and displays
💡 Pick 2–3 main colors for a cohesive look.
Step 2: Plan the Dessert Menu
Variety is key! Aim for a mix of textures, flavors, and sizes.
Classic combo:
| Type | Examples |
|---|---|
| Small bites | Mini cupcakes, cookies, cake pops |
| Creamy treats | Panna cotta, mousse cups, trifles |
| Crunchy items | Biscotti, brittle, chocolate bark |
| Fruit-based | Mini tarts, lemon bars, fresh berries |
| Signature item | A layered cake, pie, or cheesecake |
Tip: Include at least one gluten-free or nut-free option if possible.
Step 3: Know How Much to Make
A good rule of thumb is 3–5 pieces per guest if there’s also a meal, or more if dessert is the main attraction.
For 20 guests, aim for:
- 20 mini cupcakes
- 20 cookies
- 10–15 mousse cups
- 1 medium cake
- 1–2 dozen extra nibbles (brownies, bars, candy)
Always prepare a little extra — people love second servings!
Step 4: Balance Homemade and Store-Bought
It’s okay to mix things up. You can make a few items yourself and buy or outsource others — just make sure they match the theme.
Great DIY items:
- Cupcakes
- Cookies
- Chocolate bark
- Simple mousse or fruit cups
Buy or outsource:
- Macarons
- Tiered cakes
- Specialty pastries or candies
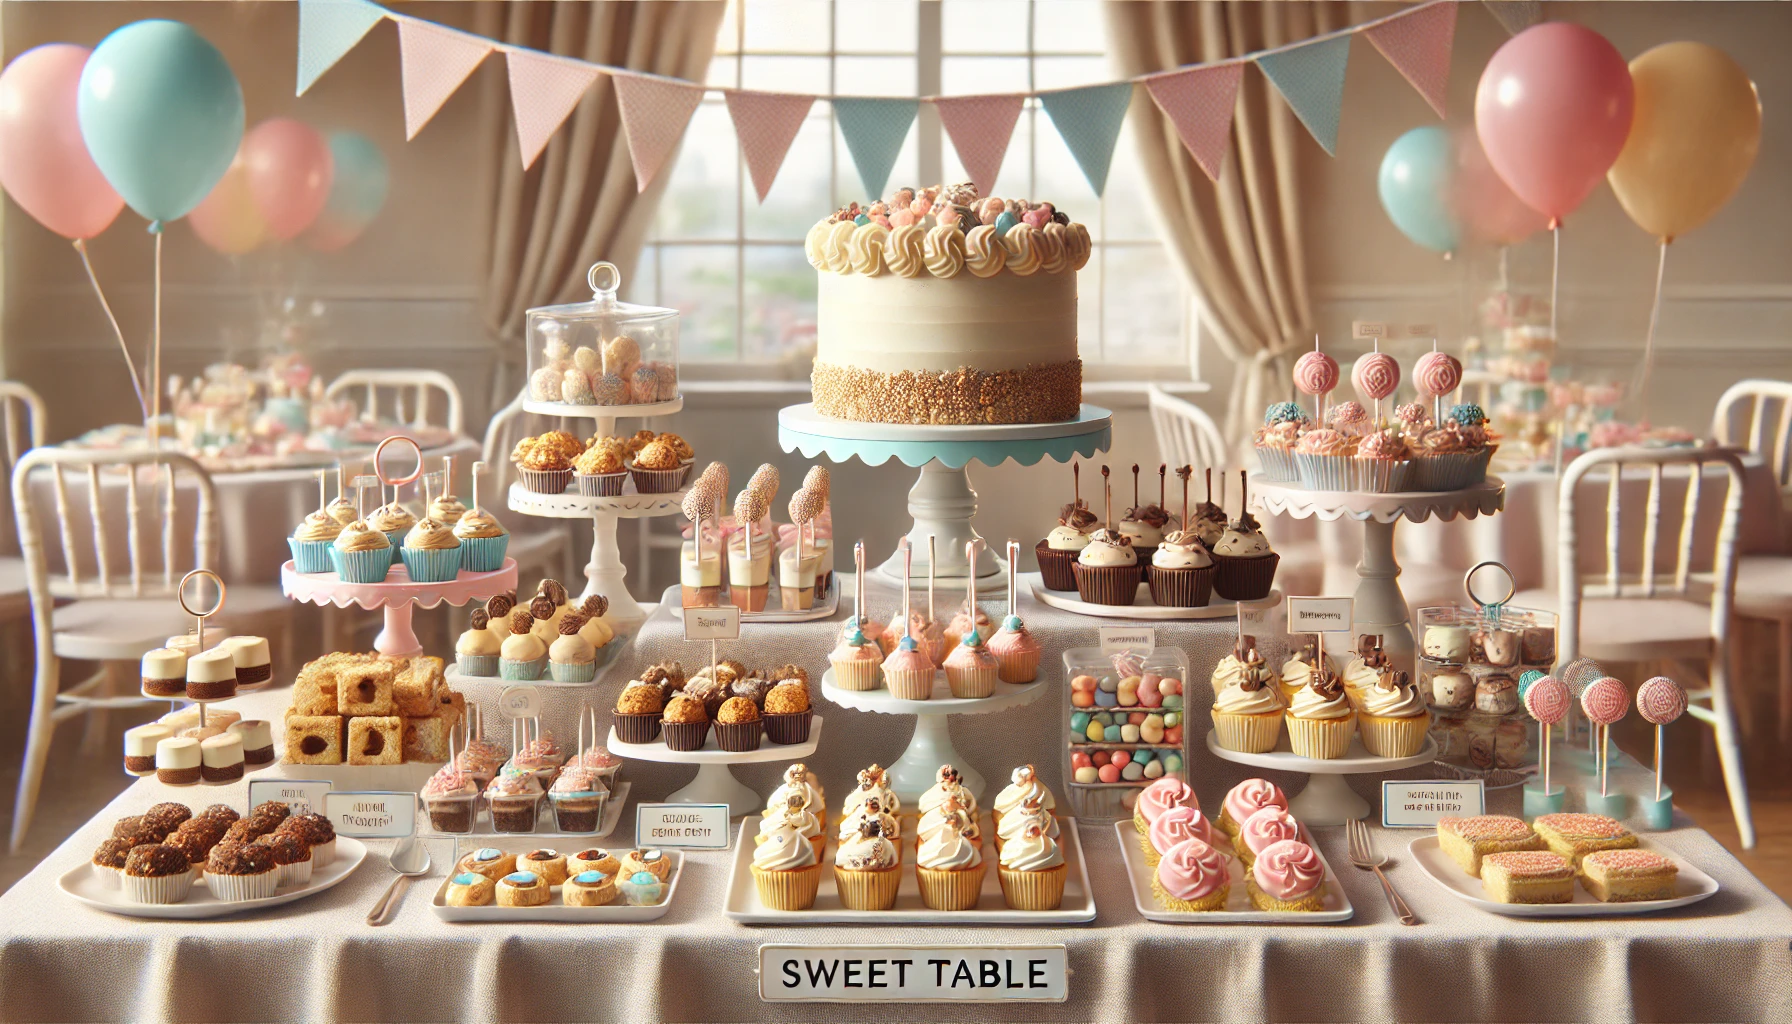
Step 5: Set Up the Table
Choose your surface:
- A large table, buffet, or sideboard
- Cover with a clean cloth or themed fabric
- Add height with cake stands, boxes under linens, or tiered trays
Display tips:
- Place the main item in the center or back (e.g., a cake)
- Use levels to create dimension
- Group items by type or color
- Label everything with cute tags or mini chalkboards
Decor ideas:
Fresh flowers, garlands, mini lights, confetti, wooden boards
Step 6: Add Non-Dessert Touches
Make your table more interactive and inviting:
- Drink station with coffee, tea, or lemonade
- To-go bags or boxes so guests can take sweets home
- Small plates and napkins in your color scheme
- A welcome sign or banner above the table
Bonus Tips for Success
- Bake and freeze some items ahead to reduce stress
- Use cupcake liners or jars for mess-free serving
- Arrange a mock setup the day before to plan space
- Take photos before the party starts — it’ll get messy fast 😄
Final Thought: Sweet Table, Sweet Memories
A beautiful dessert table doesn’t have to be complicated. With thoughtful planning, a few creative details, and a mix of simple sweets, you can create a showstopping centerpiece that delights both the eyes and taste buds.
So whether you’re planning a birthday, baby shower, wedding, or holiday gathering — start with your vision, pick your treats, and get ready to impress. Because every celebration deserves a sweet finale. 🎂✨