You’ve baked the perfect cupcake or decorated a stunning tart — but if your photo is dark, blurry, or poorly styled, it won’t do your work justice. Great photography is key to catching attention, building a brand, and making people crave your creations before they’ve even taken a bite.
In this guide, you’ll learn how to take mouth-watering dessert photos, even with a phone, using simple tools and techniques that make your sweets stand out on social media.
Why Dessert Photography Matters
- First impressions sell — people scroll fast
- Good photos help you build trust and attract followers
- Essential for selling via Instagram, Etsy, or a website
- Helps tell your brand story visually
- Creates a professional, cohesive feed
Step 1: Use Natural Light
Lighting is the most important factor.
Best lighting setup:
- Near a window with soft, indirect light
- Use a white curtain or parchment to diffuse harsh sun
- Avoid overhead kitchen lights (too yellow)
Golden tip: Shoot between 9 AM and 3 PM — depending on your location.
Step 2: Choose Your Background
Keep it neutral and uncluttered so your dessert pops.
Great backdrops:
- Wooden board
- Marble slab
- Linen cloth or napkin
- White foam board
- Simple tiles or painted backdrop
Avoid distracting patterns unless they match your brand.
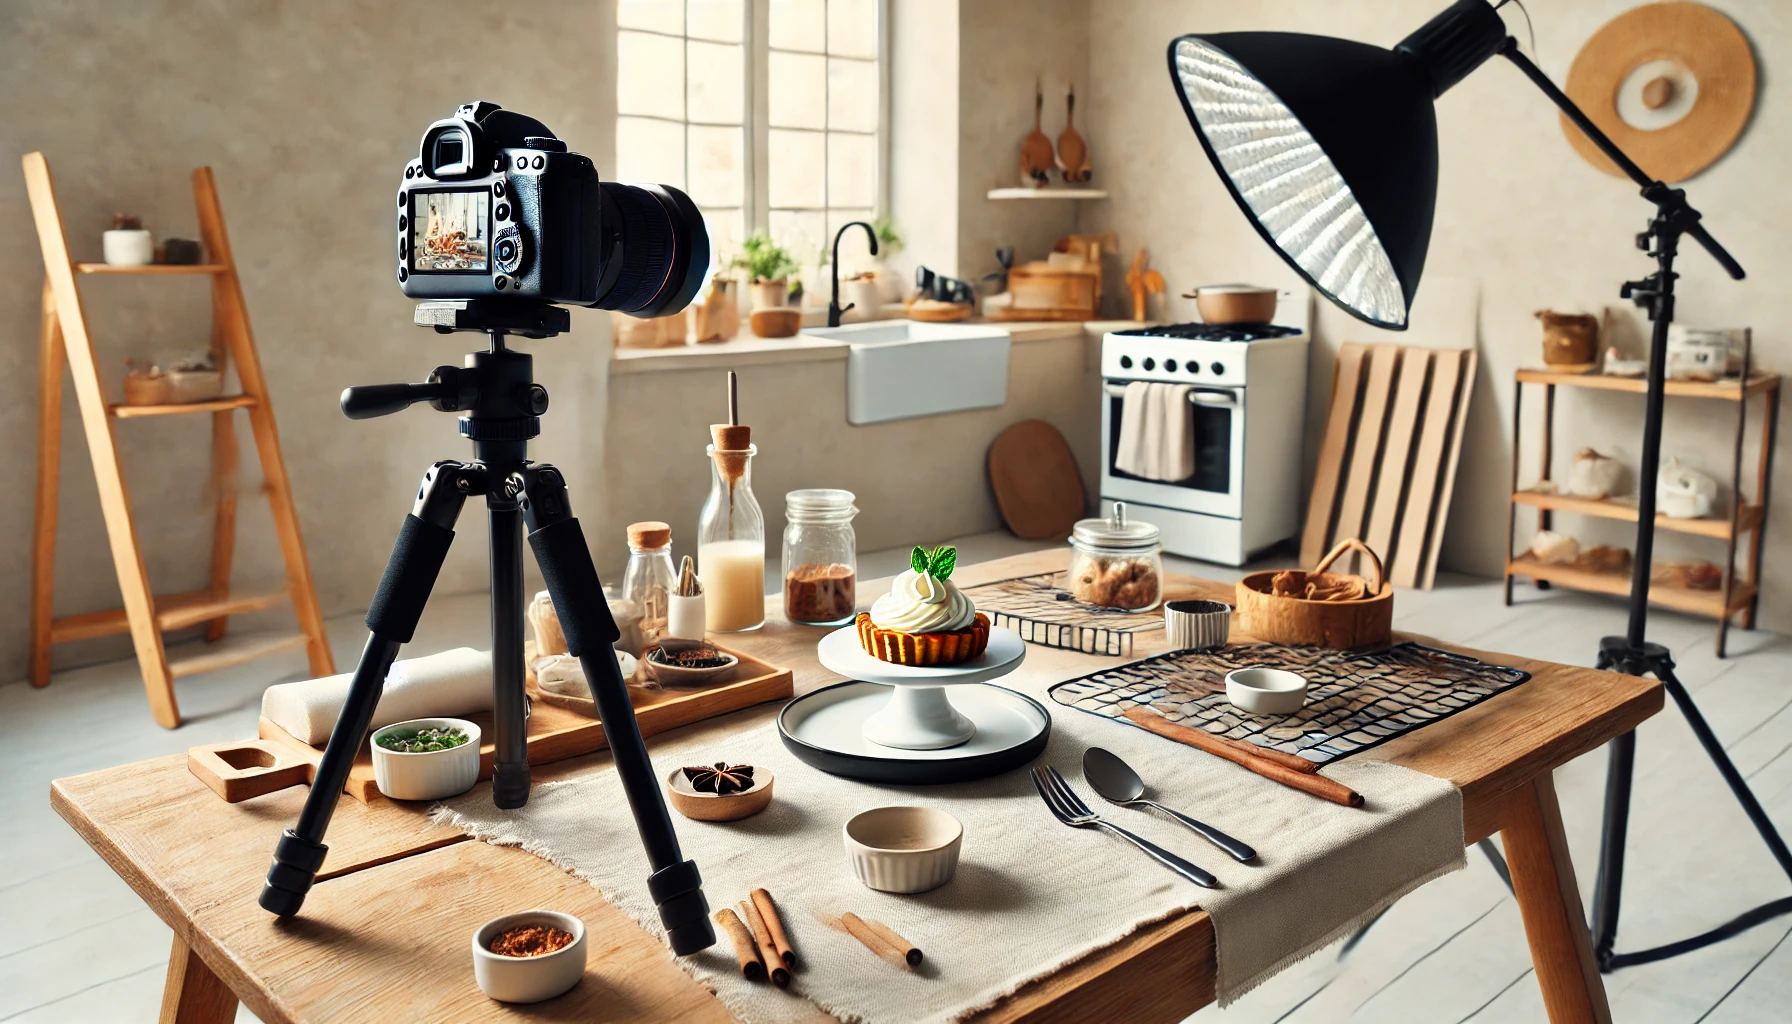
Step 3: Style the Scene
Props should enhance, not compete with, the dessert.
Use:
- Ingredients (flour, fruit, chocolate chips)
- Baking tools (whisk, spatula, piping bag)
- Napkins, plates, forks
- Flowers or herbs
Create a story: “just served,” “mid-bake,” or “gift-ready.”
Step 4: Composition & Angles
Don’t just shoot from one angle — experiment!
Best angles:
- Top-down (90º): great for flat lays, boxes, cookies
- 45º angle: good for cupcakes, cakes, tarts
- Eye-level (0º): great for layered desserts or stacked items
Use the rule of thirds: place your subject slightly off-center.
Step 5: Focus on the Details
Highlight:
- Glossy ganache
- Frosting swirls
- Crumbs or texture
- Steam rising (if warm)
Tap your phone screen to focus and adjust brightness. Use portrait mode for beautiful depth!
Step 6: Edit Smartly
No need for heavy filters — subtle is better.
Use apps like:
- Lightroom
- Snapseed
- VSCO
- Your phone’s editing tools
Adjust:
- Exposure
- Brightness
- Contrast
- White balance
- Sharpness
Keep your style consistent across all posts.
Step 7: Optimize for Posting
- Crop to square (1:1) or portrait (4:5) — these get more screen space on Instagram
- Add a watermark or tag if needed
- Use relevant hashtags and geotags
- Include a caption that tells the story or ingredients
- Post at peak engagement times
Bonus Tips
- Use a reflector (white foam board) to bounce light
- Try a black backdrop for dramatic desserts (like dark chocolate)
- Use frozen berries or spritzed fruit for fresh look
- Keep a “prop kit” with go-to styling items
- Shoot in batches to plan your content
Final Thought: Bake It. Style It. Share It.
Photography is more than just a picture — it’s how people fall in love with your desserts before they taste them. With a bit of planning and the right light, you can turn your baked goods into visual treats that make people stop scrolling and start craving.
So prep your setup, charge your phone, and show the world what sweet dreams are made of. 📸🍰💕