A stunning dessert table is more than just a collection of treats — it’s a centerpiece, a photo opportunity, and a conversation starter. Whether you’re hosting a party or running a baking business, knowing how to design and set up a dessert table can turn a sweet moment into an unforgettable experience.
In this guide, you’ll learn how to create beautiful, balanced, and memorable dessert tables that delight guests and elevate your events.
Why Dessert Tables Are So Popular
- Offer variety and visual appeal
- Serve as decorative features at parties
- Perfect for photos and social media
- Guests can graze and sample different flavors
- Great way to showcase your baking skills or menu
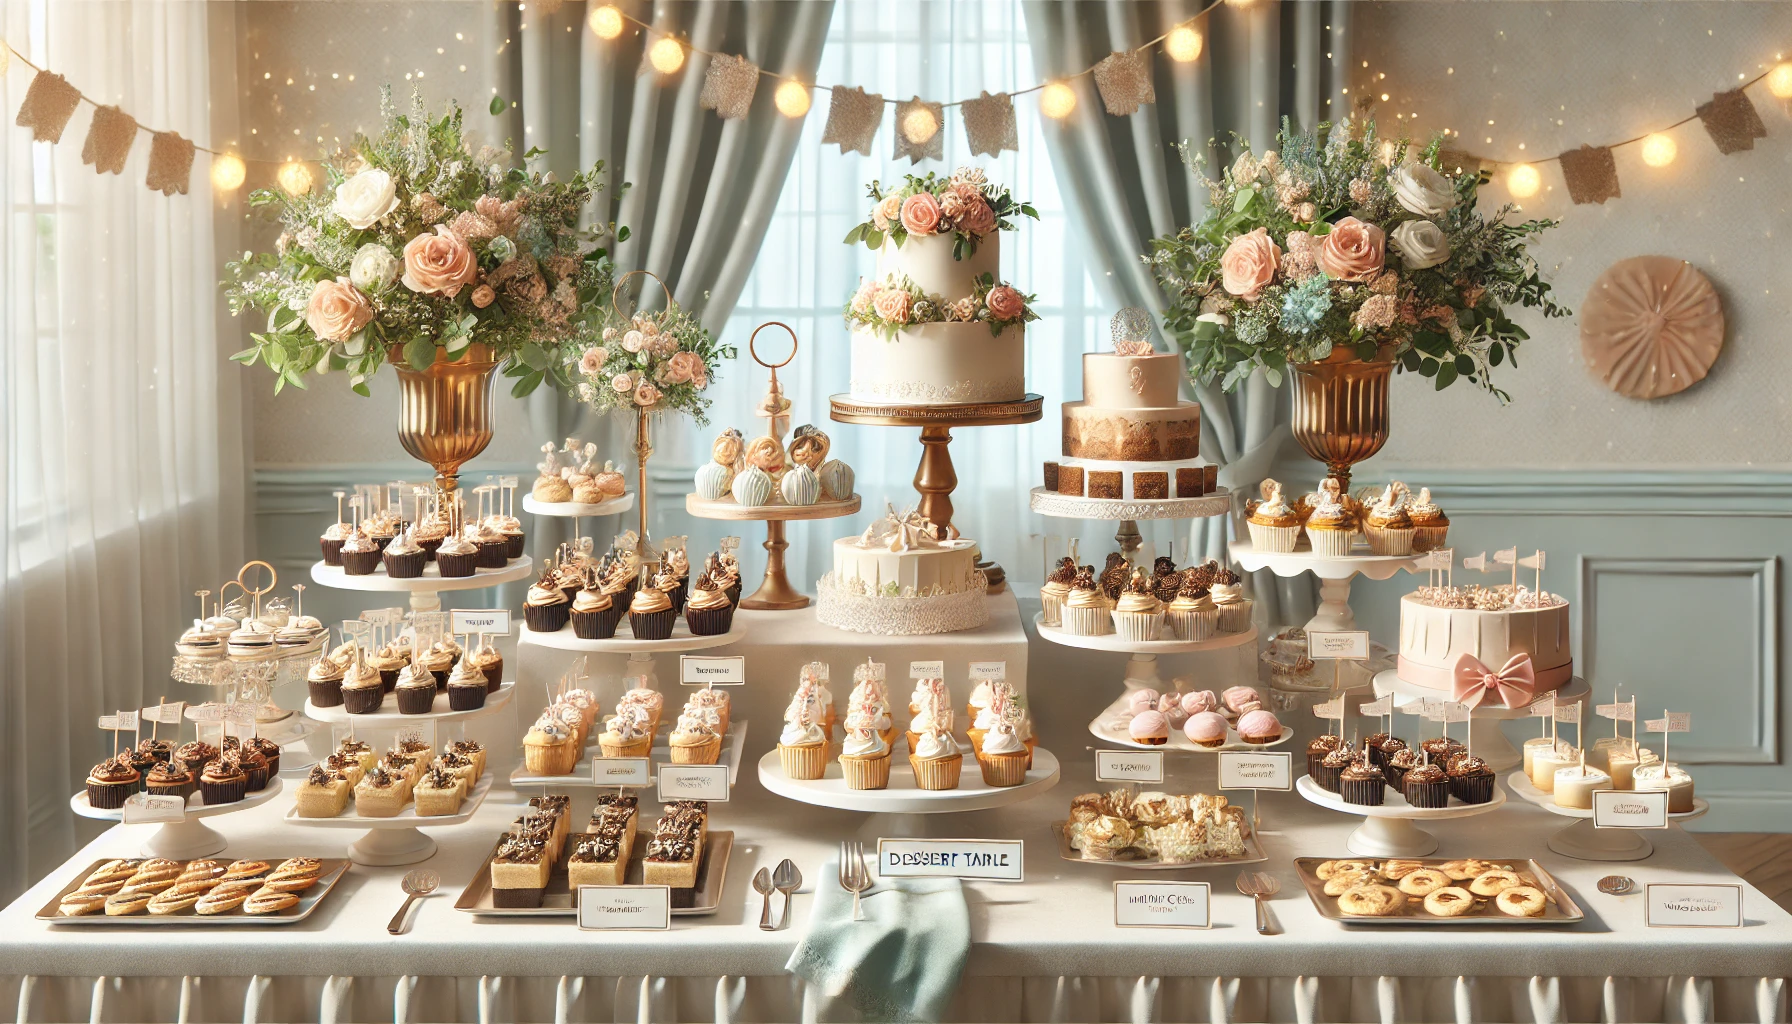
Step 1: Choose a Theme or Color Palette
The theme guides your table’s look and feel.
Ideas:
- Pastel garden party
- Rustic wood and gold
- Pink + white baby shower
- Halloween black + orange
- Elegant all-white wedding
Match your dessert colors and decor to the theme for visual harmony.
Step 2: Plan the Dessert Menu
Aim for variety in texture, size, and type.
Include:
- 1–2 centerpiece items (cake, tower, large tart)
- 2–3 handheld sweets (cookies, cupcakes, brownies)
- 1–2 creamy or plated items (mousse, panna cotta, cheesecake cups)
- Optional: candies, chocolate bark, meringues, popcorn
Portion guideline: 2–3 mini desserts per guest.
💡 Mini and bite-sized treats are easier to serve and eat.
Step 3: Use Levels and Layers
Vary the height of your desserts using:
- Cake stands
- Wooden crates or risers
- Acrylic boxes or glass blocks
- Tiered trays
- Upside-down bowls hidden under fabric
This adds depth and flow to your presentation — avoid a “flat” look.
Step 4: Coordinate Serving Pieces
Use matching or complementary items:
- Plates and trays in coordinating colors
- Clear jars or bowls for candies
- Small tongs, spoons, or scoops
- Labels or tags with dessert names
Stick to 1–3 styles for a cohesive look.
Step 5: Add Decorative Touches
Fill in empty spaces with:
- Flowers or greenery (fresh or faux)
- Themed banners or backdrops
- Balloons, candles, fairy lights
- Confetti or edible glitter
- Frames with quotes or menu signs
Be sure nothing distracts from the desserts themselves.
Step 6: Think About Functionality
- Make sure guests can access everything easily
- Place popular treats in the front
- Offer napkins and small plates nearby
- Use lids or covers outdoors to protect from bugs and wind
Bonus: Dessert Table Ideas by Event
| Event | Theme | Treat Ideas |
|---|---|---|
| Baby Shower | Pastel & floral | Cupcakes, macarons, meringues, sugar cookies |
| Wedding | Elegant neutrals | Mini cakes, panna cotta, mousse, chocolate bark |
| Birthday | Bright + bold | Cake pops, brownies, donut wall, sprinkles |
| Corporate | Sleek + simple | Logo cookies, chocolate dipped fruit, mini tarts |
| Holiday | Seasonal colors | Pumpkin pie bites, gingerbread, caramel popcorn |
Final Touches: Add a Focal Point
Choose one main item to be the star:
- A tall layered cake
- A macaron or donut tower
- A multi-tiered cupcake display
- A chocolate fountain
Surround it with your other treats to create flow and balance.
Final Thought: Make It Sweet, Make It Stunning
With thoughtful planning and presentation, your dessert table can become the highlight of any event. It reflects your creativity, sets the tone for the celebration, and most importantly — brings joy in every bite.
So go ahead, mix textures, layer heights, and sprinkle your personality all over it. Your table isn’t just full of desserts — it’s full of delight. 🍓🎉🍰