Looking to create a memorable night with a sweet twist? A dessert tasting event is the perfect way to showcase your baking, try new recipes, and entertain your guests in style.
Whether you’re celebrating a birthday, launching a new dessert business, or just want to gather friends for a night of fun, this guide will show you how to host an unforgettable dessert tasting at home — complete with planning tips, setup ideas, and presentation inspiration.
Why Host a Dessert Tasting?
- A fun, interactive way to share multiple desserts
- Great for testing recipes or getting feedback
- Makes even a small gathering feel special
- Offers variety — something for every taste
- Great for building your brand if you sell desserts
Step 1: Choose a Theme
A theme adds structure and creativity to your tasting.
Popular ideas:
- Chocolate Lovers Night
- Around the World in Sweets
- Seasonal Sampler (spring berries, autumn spices)
- Mini Dessert Flight
- Classic vs. Modern Desserts
You can even base your tasting around a holiday (Valentine’s, Christmas, etc.)
Step 2: Plan the Dessert Menu
Aim for 4 to 6 mini portions per guest — just enough to taste everything without overloading.
Example Menu:
- Mini lemon tart
- Chocolate mousse cup
- Cookie with flavored filling
- Seasonal fruit crumble
- Salted caramel brownie
- Cream puff or panna cotta
💡 Keep portions small (2–4 bites) and vary textures and flavors.
Step 3: Prepare in Advance
- Choose make-ahead-friendly desserts
- Bake or assemble the day before
- Chill mousse, ganache, or panna cotta overnight
- On the day: focus on final touches and plating
Don’t forget coffee, tea, or even a dessert wine pairing!
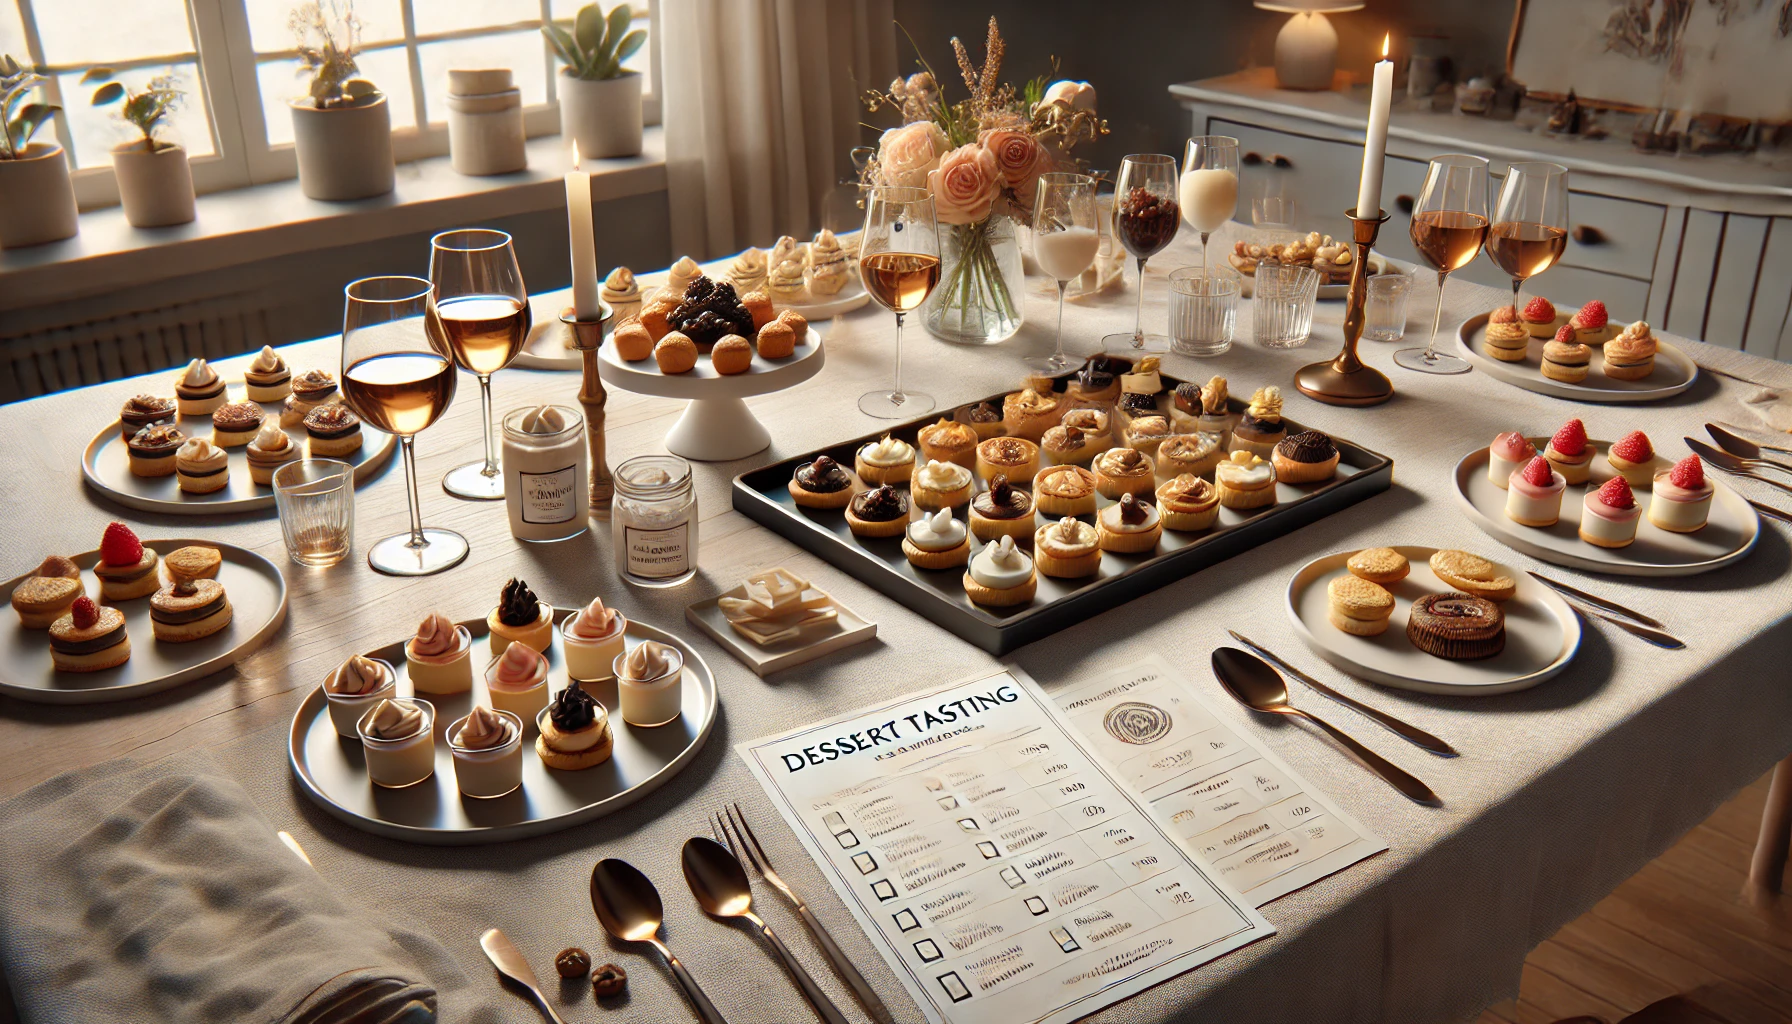
Step 4: Set the Table Like a Pro
Presentation creates the tasting experience.
Setup tips:
- Use small plates or tasting spoons
- Label each dessert with a tag or printed menu
- Set out water or palate cleansers (like sparkling water or fruit)
- Decorate with candles, flowers, or elegant platters
Create a station-style buffet or individual plated flights — depending on your space and guest list.
Step 5: Add an Interactive Element
Make the tasting even more engaging!
- Print tasting cards for guests to score or comment on each dessert
- Ask for favorite picks at the end
- Have guests vote for “Most Surprising Flavor” or “Best Texture”
- Offer small prizes or take-home treats
It turns the evening into a shared activity — not just a meal.
Step 6: Consider Pairings
Want to take it further? Offer matching drinks or toppings.
Examples:
- Chocolate desserts + espresso or red wine
- Fruit desserts + sparkling wine or lemonade
- Spiced desserts + chai or cinnamon tea
- Creamy desserts + honey liqueur or dessert wine
Even flavored waters or mocktails add a touch of sophistication.
Step 7: Capture the Moment
Take photos of:
- The full dessert table
- Individual plates or displays
- Guests enjoying or scoring desserts
Share highlights on social media — or save for your personal baking portfolio!
Final Thought: Entertain with Flavor and Fun
Hosting a dessert tasting is more than just a party — it’s an experience. It lets you share your love of baking, introduce guests to new flavors, and create a night that feels special, elegant, and totally delicious.
So plan your menu, light the candles, and prepare to wow your guests one bite at a time. 🍮🥂